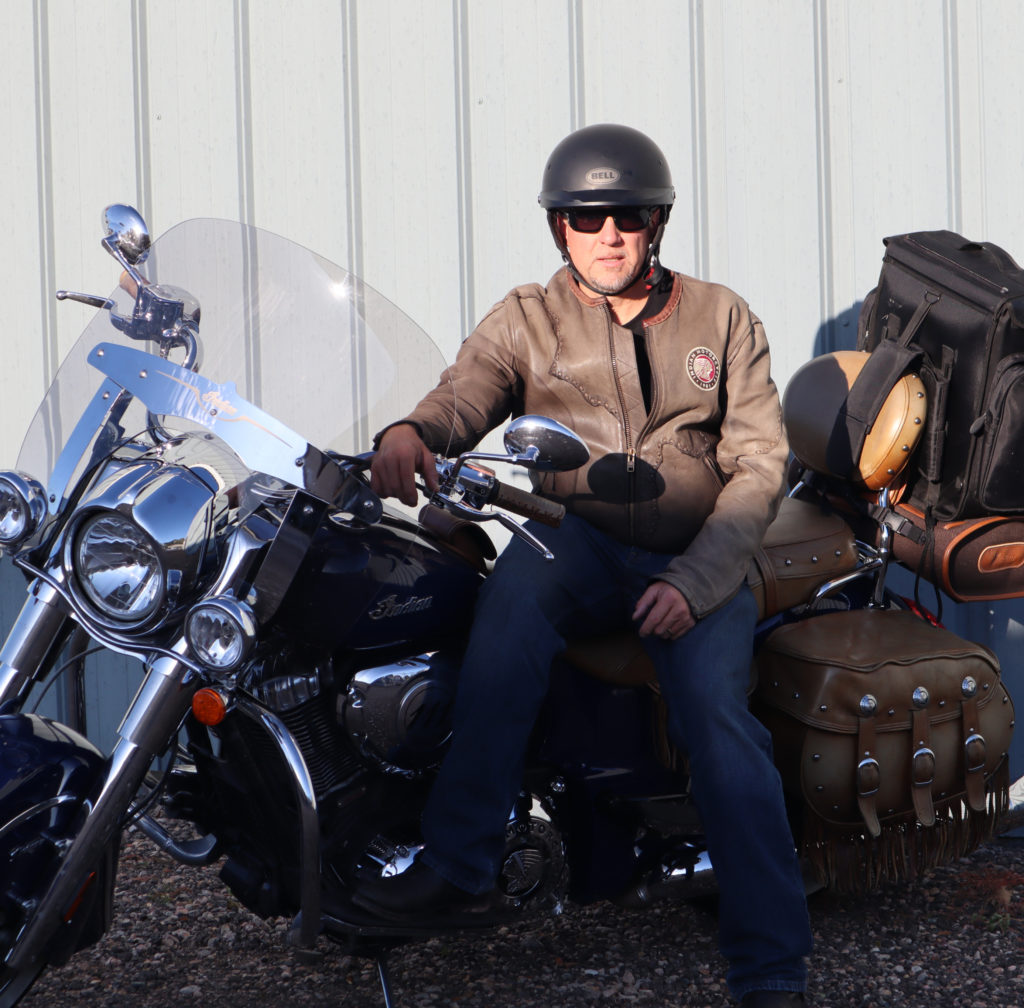
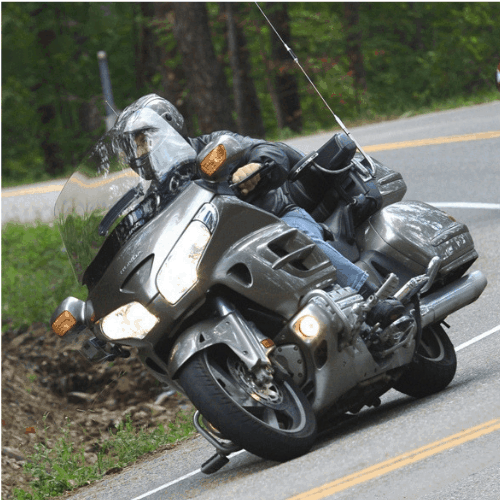
motorcycle windshield, Windshield Design
Building the perfect Touring Windshield
What is the Perfect Touring Windshield? That is a question best answered by the individual who will be riding behind the screen. Every rider will have different needs and (as mentioned in a previous Post) different expectations of what they want for those miles and miles of Tour riding. Many people want to place themselves fully behind the screen with the confidence of knowing that everything that comes there way will be deflected from them as they ride. While others simply want the Max Comfort while still preserving he ability to look over the top with a Clearview of the Road ahead.
The important thing is to understand what you want from the screen for both you and the passenger and know the consequences of each decision made .We have designed many enhancements that can greatly improve your next Trip. Read our option breakdown below and hopefully you will be able to set up that perfect Touring screen for that Next Long Ride.

We have created some examples of pros and cons below that will help you decide which enhancement will best meet your needs.
Building Your Touring screen
There are three key Dynamics to setting up your bike with the Perfect Touring screen. Height, Width, Venting
Picking the correct Height
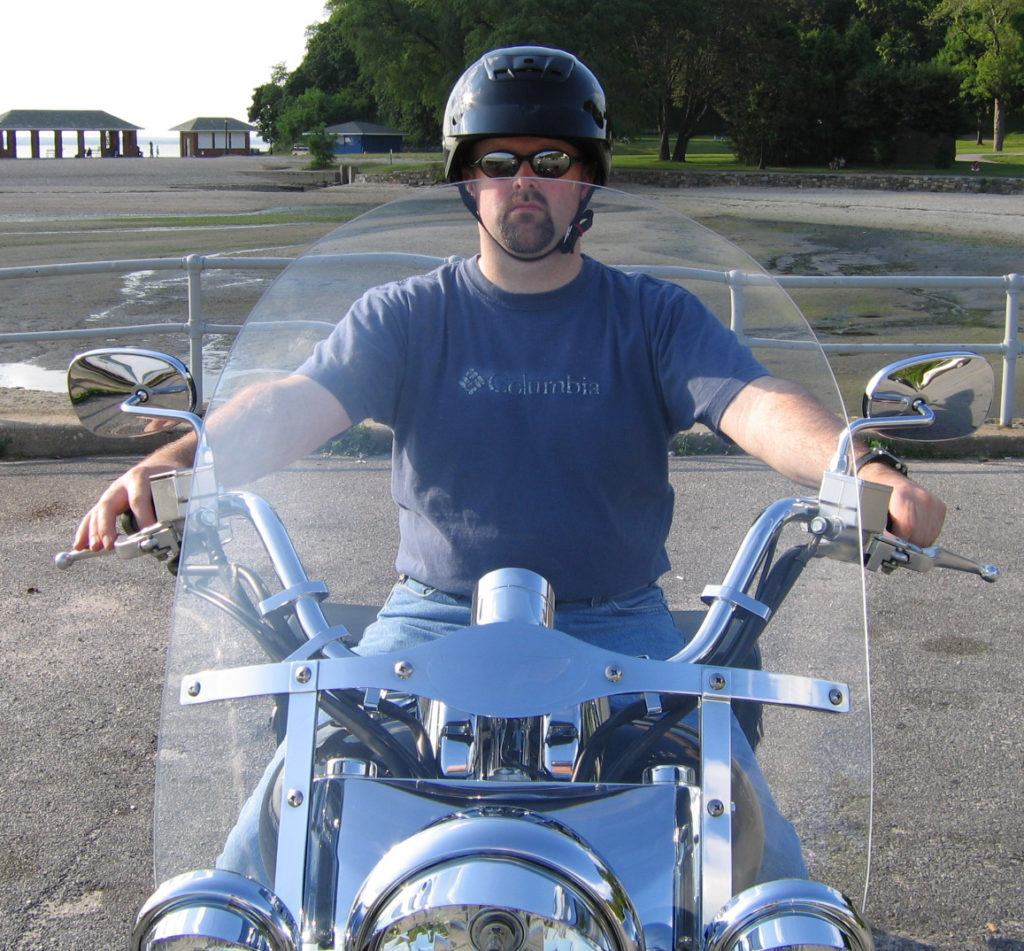
There are two different approaches to take when determining height, Look through or look over.
Looking through
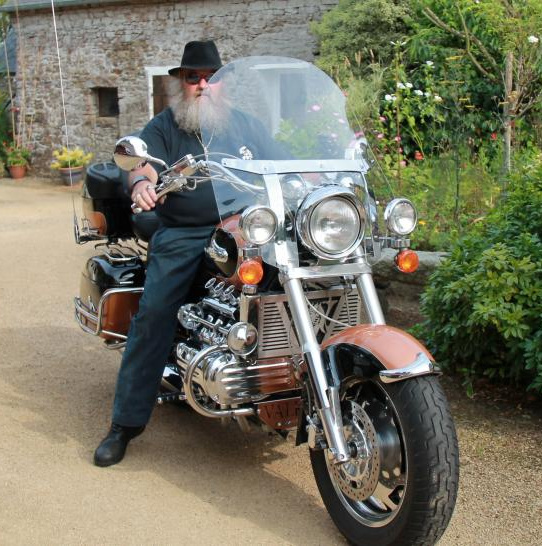
Many companies including our selves would encourage a Look over posture with your screen but looking through can have its benefits. When a passenger is part of your equation A looking Through screen will not only provide the best coverage from wind but it will provide the best coverage from everything else.. Road Debris, Bugs and weather ( Hail and Hard rain). The correct height Windshield will adjust the air stream higher and further back behind both occupants and Buffeting will be at the lowest point. You don’t have to exaggerate height to achieve this. We typically ask you to adjust 2 sizes above the sight line established at 50′ (see “Choosing Your Shield Height” for more info). This will allow the coverage needed assuring that you will not be looking at the top edge of the screen adjusting posture to look over or through. You will also find that any audio accessories will be heard easier and with less volume adjustment. The Con to this windshield height is the inability to see through the screen and operate the bike safely when riding in the rain or with a bug and dirt covered view area. Clearview Shields uses a material that is compatible with products like Rain-X (both Glass and Plastic formulations) which will help you see through the screen in rain and make it easier to clean bugs off at the end of each riding day.
Looking Over
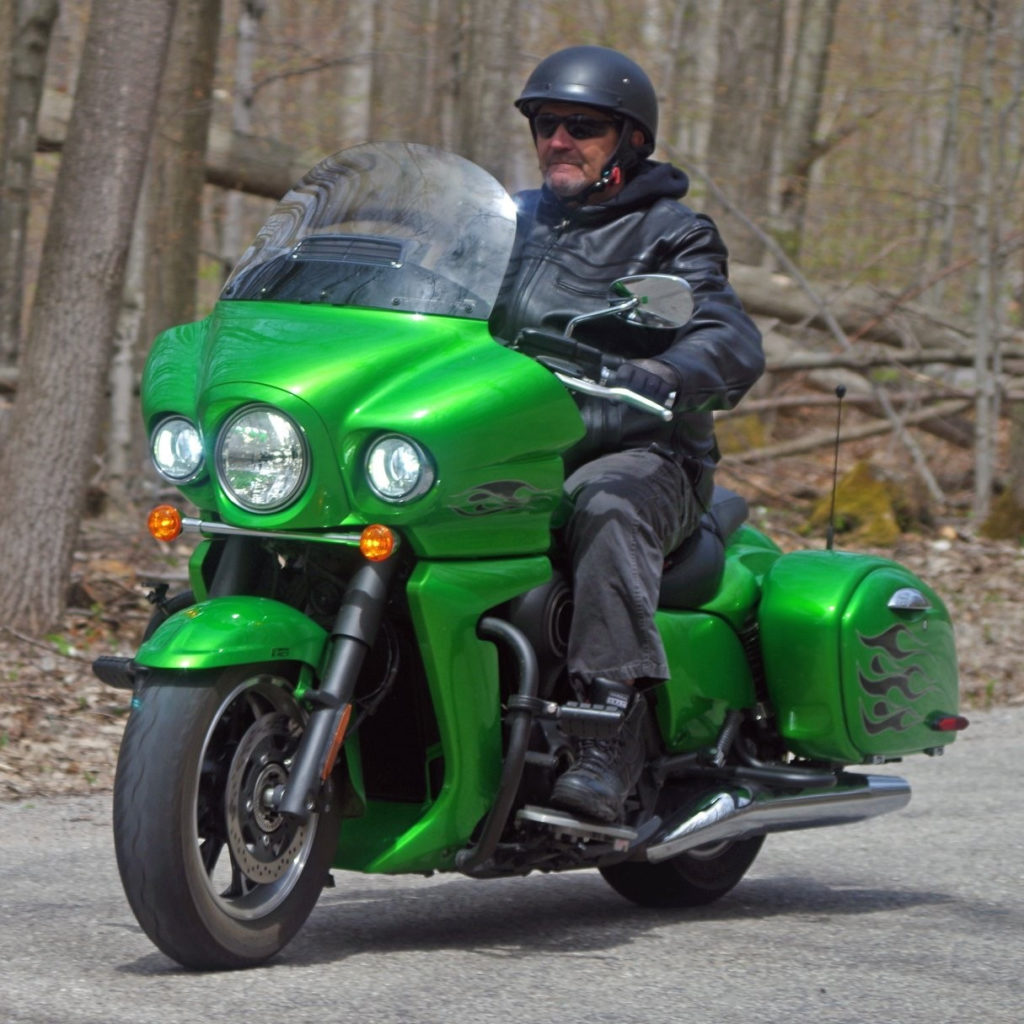
Looking over a screen can be a possible alternative to looking through because of the design concepts that Clearview has been practicing for over 20 years. We call this concept Recurve. A rider can just look over the top edge of their screen, rarely worrying about looking through a dirt or rain obstructed view of the road and continue to ride even if the screen is darkly tinted. The air will be lifted slightly so that the bulk of the airstream does not collapse on the operator. Clearview Shields carefully crafts this concept to meet the needs of the bikes design and the ergonomic positioning of the rider and the passenger. No recurve will be the same for all Bikes and too much can make the riding experience worse in many ways. The down side to this approach will be a slight increase in wind noise (when compared to a look through screen) and an increase in being hit by road hazards. For many this option is a excellent compromise and is the most popular option we offer for your Touring screen.
Selecting Width

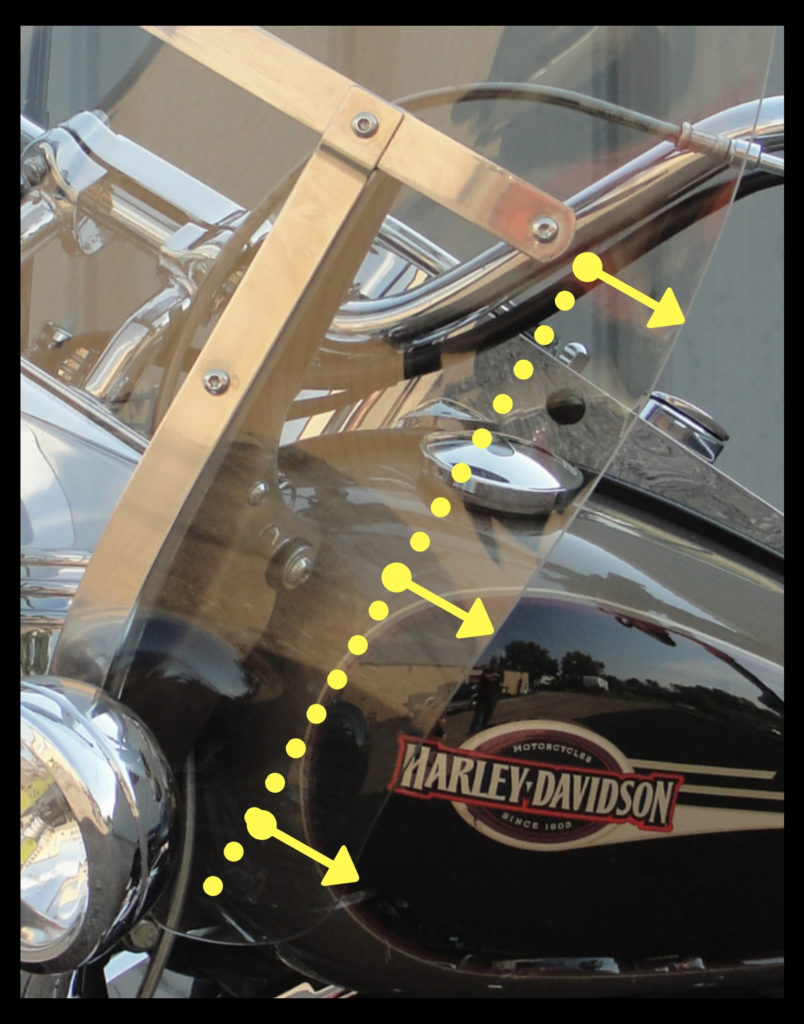
Enhancing width can help with air that flows in from the sides and for Cruiser style screens from underneath. You have to remember that the pocket your ride in is a low pressure area that needs to be filled in from all sides. Adding height can cause the pocket to collapse more aggressively inward in other areas. We consistently talk about keeping the pocket as balanced as possible when consulting clients. If you wish to add height to your Windshield, whether compensating for your personal body size, or wanting to look through it, seriously consider adding width to maintain a balance of the pocket. Generally the only Con when adding width is the appearance that some may not appreciate.
To Vent or Not to Vent
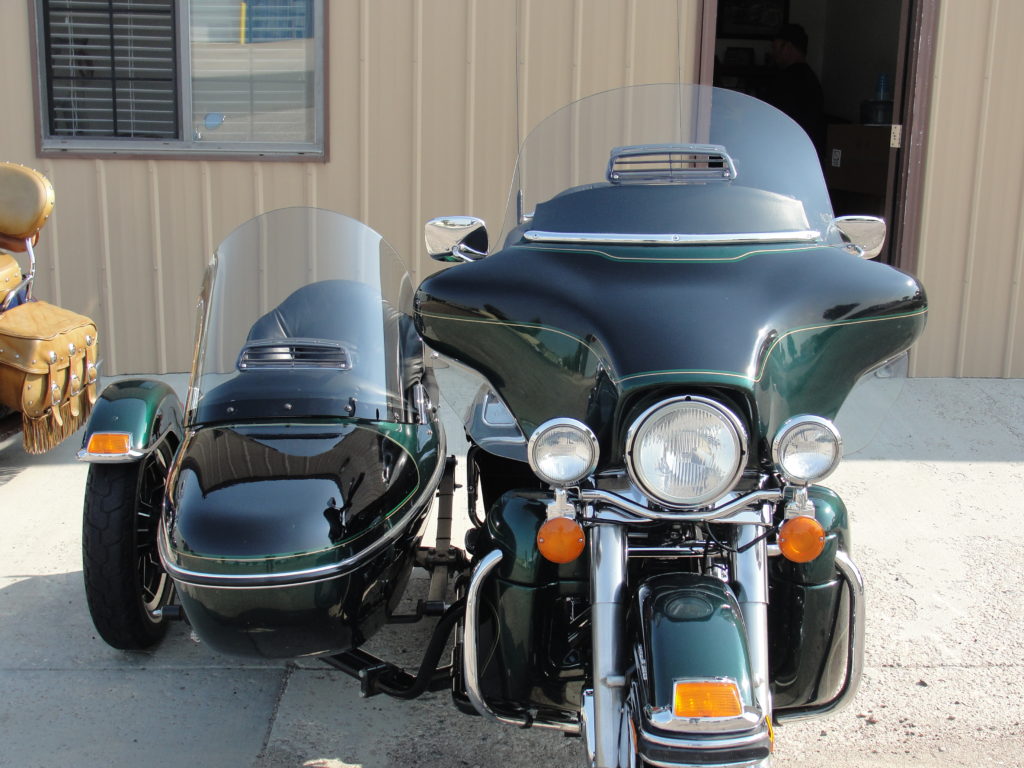
We recently touched on the existence of the Low pressure Pocket that exists behind every Windshield and Fairing. This low pressure acts as a Vacuum sucking air back into the area that you occupy. This air flow can be turbulent as it tries to fill in around you. Our 5 position vent is an effective tool that can reduce the severity of this chaotic wind and move it to a central focused stream. That in turn reduces wind noise and buffeting and increases your ability to enjoy music or simply communication with your passenger. The stream of air can be directed low on the your torso for hot days or positioned upward to counter airflow that comes down from the top around your head. Calming the turbulence and your nerves on those long days on the Bike. Generally the larger the screen to more a vent will make sense to add. This option will increase the cost of your new screen but for many the benefits out way the price. Click here For more on Venting
So there are a few tips to consider when building your perfect Touring Screen. Ideally the perfect screen will depend on your style of riding, what you expect to receive from the screen coverage wise and how you wish to see to road. We hope this has helped you fine tune your next Touring screen from Clearview Shields.
