- Crafting a Clearview
- Choosing Height
- Dialing In
- Recurve Design
- Venting
- Tint & Color
- Care & Maintenance
HOW IT’S MADE
CRAFTING A CLEARVIEW
At Clearview Shields, the motorcycle windshield is our first and only priority. It’s been our only priority for over 40 years, and we’ve never changed our focus. We design, manufacture, and distribute everything we do in-house — full control over every step of the production process, all here in Colorado, USA.
The equipment we use enables our fabrication techs to stay close to every step of production, keeping an eye on quality from beginning to end. People building product to a tight quality specification that assures you, the rider, that you’ll only receive the best we can offer — all while exceeding DOT standards.
Each piece is made one at a time through a production process streamlined through recent consulting with Manufacturers Edge, helping us dramatically reduce lead times while keeping the ability to tailor each screen to the rider’s specifications. Some may call it old-school or low-tech, but keeping our fabricators immersed and focused on every step of production keeps everyone and every process at the highest level of quality.
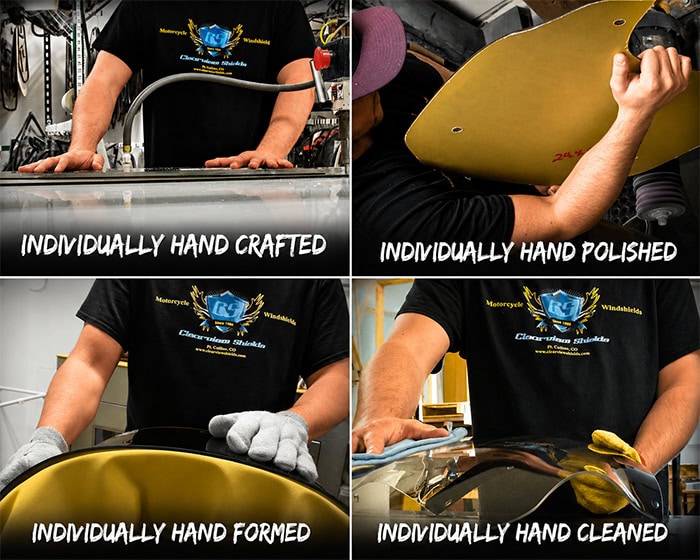
- Precision cutting with close attention to quality and detail, manually controlling feed rates to detail areas to avoid damage to the plastic
- Hand-polished to secure a smooth edge without heat or chemicals
- Hand-formed, giving the fab tech contour sensitivities for flaws that no machine would find
QUALITY CONTROL
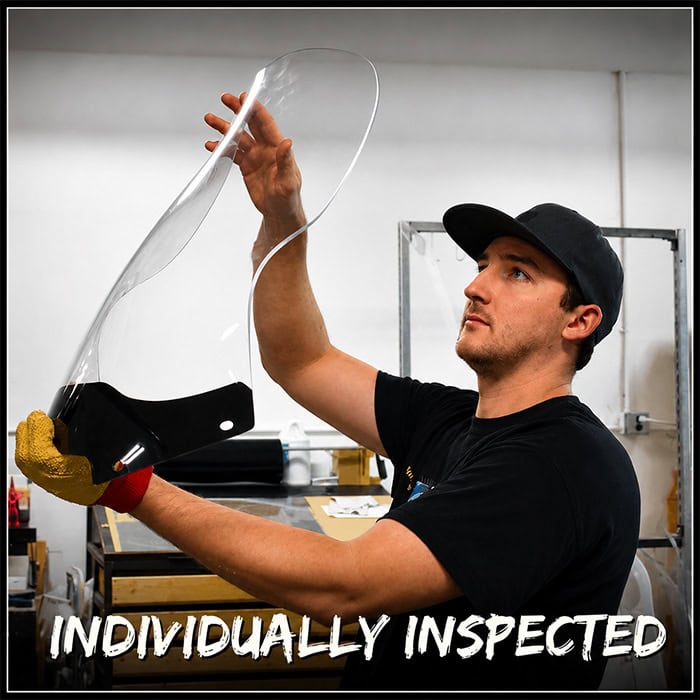
CLEANED & VISUALLY INSPECTED
Cleaned, visually inspected, and packaged manually to ensure the final windshield is released with zero flaws. If any minor surface flaws are detected, the fab tech will call you directly to discuss possibly shipping at a reduced rate. Any major flaws result in the screen being recycled and an immediate re-fabrication of the order. We can guarantee no other windshield company holds the quality of their products as high as Clearview Shields.
Details on construction aren’t just for our fabrication technicians — every person involved with your order has seen the screens being manufactured. Talk to customer service, and they can literally watch windshields being made from their desk. It may even be yours. So when you’re looking to buy a new screen, don’t just consider how it was made — also ask where and by whom it was made, and know that with Clearview Shields, you’ll receive the highest quality windshield.
DIALING IN YOUR NEW SHIELD
Choosing Your New Windshield? Start With Your Ride Setup.
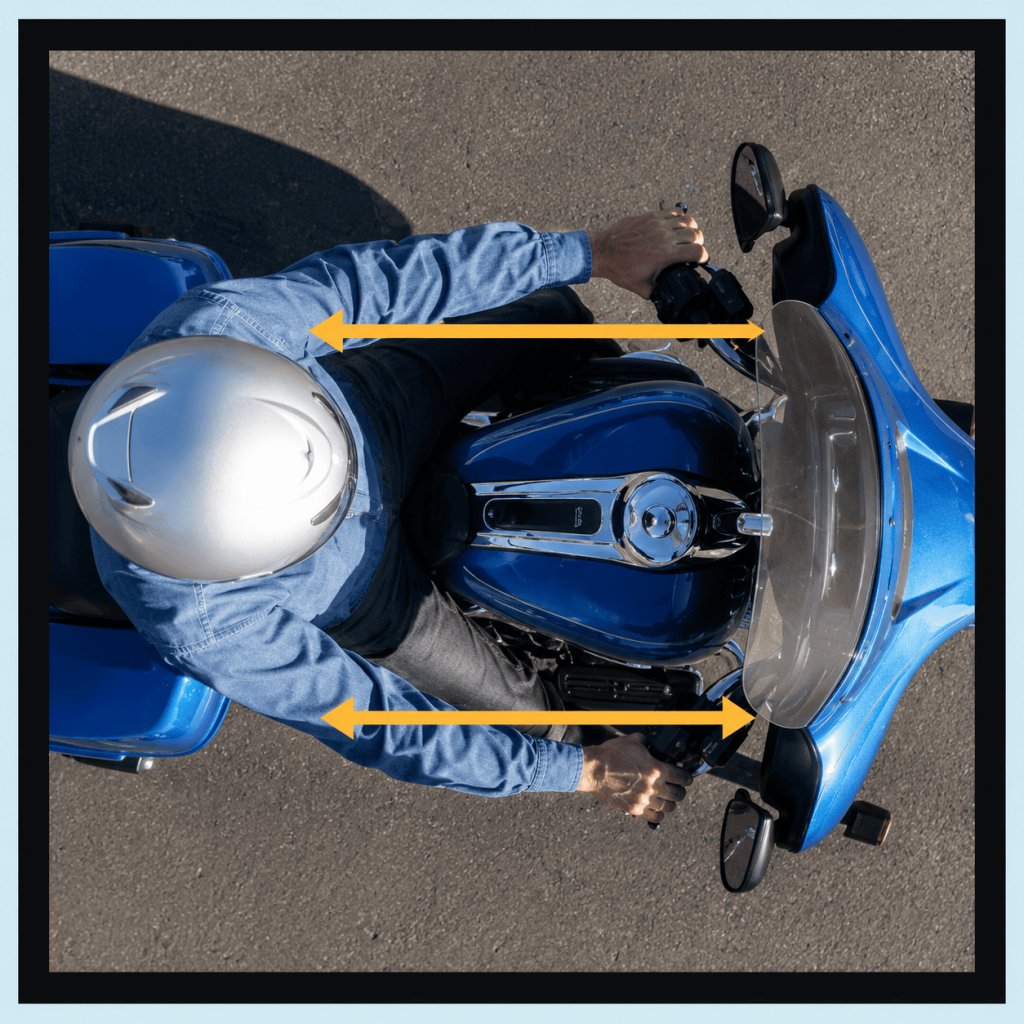
Before you buy a new motorcycle windshield, you need to consider how you actually sit on your bike. Three critical factors shift your physical line of sight, completely changing how you see through the glass and view the road ahead:

YOUR SEAT
Seat height determines your base eye level.
YOUR BARS
Hand positioning changes your posture and tilt.

YOUR PASSENGER
Extra weight compresses the rear suspension, angling your view upward
CHOOSING YOUR MOTORCYCLE WINDSHIELD HEIGHT
Your preferred riding style determines your ideal windshield height. Riders generally choose between looking over the screen or looking through it.
LOOKING OVER VS. LOOKING THROUGH
LOOKING OVER
PROS:
Clear View: Unobstructed line of sight during rain, fog, or heavy bug debris.
Air Pocket: Our Recurve design pushes airflow up and over your head.
CONS:
More Wind: Increased airflow compared to looking through (beneficial in hot weather).
Debris Risk: Slight chance of high-flying debris clearing the top edge.
LOOKING THROUGH
PROS:
Maximum Comfort: Quietest possible ride with peak wind protection for rider and passenger.
Full Coverage: Top edge sits 2” to 3” safely above your line of sight.
CONS:
Reduced Clarity: Weather, fog, and debris block vision. (Tip: Use Rain-X or ceramic coatings to improve shedding and scratch resistance).
Less Airflow: Can get hot. (Tip: Choose our vent option to increase airflow and balance the low-pressure cockpit pocket).
How to Measure 50 Feet Ahead
For the most accurate results, sit in your normal riding posture and have a friend assist you.
SETUP
- Find Level Ground: Park your motorcycle on a flat surface.
- Set a Target: Place a low-lying object (like a helmet or cap) on the ground 50 feet (15.24 meters) directly in front of the bike.
The “Parking Lot” 50-Foot Hack
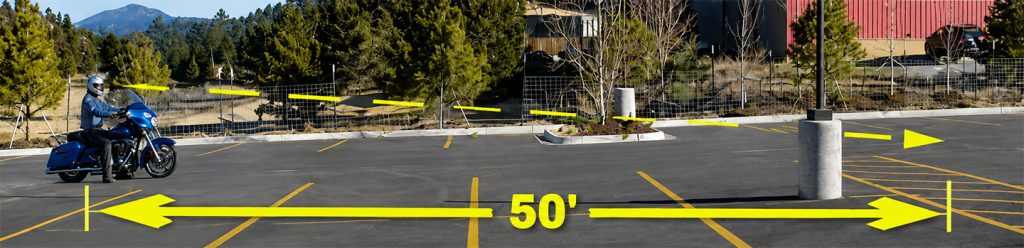
- Find an empty parking lot with standard spaces (which average 8 feet wide).
- Park at a 90-degree angle to the spaces.
- Look toward the painted line at the end of the 6th parking space to easily approximate 50 feet.
Calculating Your Shield Height
- Sit on your bike in your standard, comfortable riding position.
- Look directly at the target object 50 feet ahead.
- Have your friend identify the exact point where your direct line of sight intersects the windshield area.
Sizing Rules
- To Look Over: Target the exact height where your line of sight intersects the 50-foot mark. If your measurement falls between sizes, round down to the shorter size so the top edge stays below your field of view.
- To Look Through: Choose a height that is 2” to 3” taller than the “Look Over” measurement so the top edge sits safely above your vision.
Measuring References by Bike Type
Windshield designs vary by motorcycle style, requiring one of two measurement methods:
- Surface Length: Measured along the face of the shield from the top of the headlight cutout to the top edge (common for cruiser models).
- Vertical Height: Measured at a 90-degree angle from a fixed point on the fairing (common for fixed or fork-mounted fairings).
Check your specific motorcycle make and model page to confirm which measuring reference your bike requires.
FEATURE
THE RECURVE DESIGN
As I sit here thinking back some 30+ years ago (close to the time Tonya and I started Clearview Shields), I remember the design concepts we established that encompassed all of what Clearview Shields was about: creating an enhanced riding environment for the motorcycle rider while providing a clear view of the road ahead. That meant designing improved windshield shapes that moved air more effectively and then offering several heights of that shape that fit the different body sizes and riding styles of the motorcyclist.
Through our own riding experience and the many local customers’ feedback, we learned that just a slight shift forward placed you in a much quieter pocket, but holding that position was uncomfortable over long distances. So we thought, why not bring the screen closer to the rider? Good idea, but the manufacturers know what the best angle is for redirecting the air, and by moving the screen backward we would change that angle, and in that our Recurve design was created.
The recurved top section moved forward to that optimal deflection angle the screen initially came with while moving the whole coverage area closer to the rider. Our research also revealed that too much Recurve turned the airstream turbulent around 50mph and above, collapsing violently behind the rider (for two-up riding, in front of the passenger), not to mention adding distracting distortion to the upper section of the screen. Too little of a Recurve: While looking over the screen, the airflow would collapse in front of the rider, compromising quiet comfort.
A perfect Balance of Comfort & Coverage with a Clear View
The concept is a proven success, helping us fine-tune heights for riders so they may look over the screen and nudging the airflow slightly upward to avoid having it dump in their face or turbulently rumble between them and their passenger.
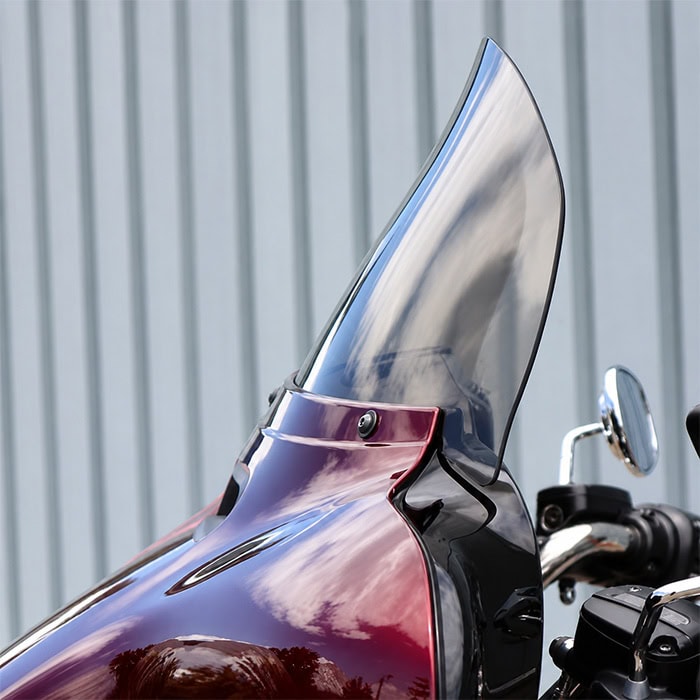
In late 2005, we looked at offering it on specific Harley-Davidson models, from the earlier 1995 and older models to the newer 1996 to 2013 models. Back then, no one else offered a Recurved Electra Glide, Ultra Classic, Road Glide, or Road King. Now we offer it on 99% of our product line. If I thought about it, I should have copyrighted the word Recurve to this design. At that time, no one else was using that term, at least when talking about motorcycle windshields, and spell check hates it.
Now, the term is more than commonplace in the aftermarket windshield arena. Many companies are selling the Recurve with the idea that “More is Better.” For those of you who like turbulence and distortion, then I guess more is better.
Venting and Windshields
Being on a motorcycle can be one of the most freeing experiences a person can enjoy, hence why it is so popular. If you’re like me, whenever you can get a chance to ride, you want to be on for more than just a few minutes. Long day rides are great, but the extended trip is the best. Long days in the saddle can be tedious if you don’t have the right seat or if your hands and feet are not set in a comfortable position, but the one item that can really make or break how relaxing a long ride can be is the windshield. Going too small can create a mass of turbulence that will literally beat you to death, but going too big can subject you to a large amount of low-decibel rumble and uncomfortable backpressure so much so that the ensuing headache will make the thought of the next day’s ride less than exciting.
Irritated? Vent your frustrations!
The idea of venting a motorcycle windshield has been around for a while. Craig Vetters’ Windjammer fairing came with a screen that had optional pop vents which could be opened and closed from the inside. This gave the rider a certain amount of control for different conditions. In the early 90’s we offered these in many other models of motorcycles, recommending that you fully remove the covers to allow an even stronger flow of air inside the pocket, in turn minimizing the pocket’s collapse from behind and smoothing out the airstream from the inside. Eventually these became cosmetically unappealing and perhaps a bit dated, so we have dropped them from our vent choices.
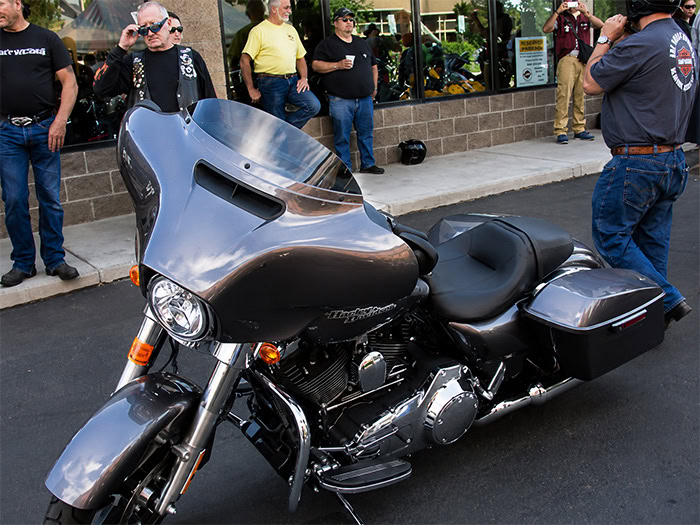
Venting your windshield can do a lot to quiet the ride. Many new motorcycle models’ screens are designed to allow airflow under and in between the fairing and screen to maintain a constant balance of pressure. The only downside is the inability to close off the airstream in extreme wet or cold riding environments.
Recent additions from Harley Davidson have given the rider controlled air management again with the idea of reducing that low rumble and annoying back pressure. Having test-driven the new 2014 Street Glide and the 2015 Road Glide, the design works as it should.
Even the large gap in the VTX1300 Cruiser windshield can be considered an air vent. Cruisers are notorious for the airflow that will come from underneath the windshield. Increasing the gap around the headlamp of many cruisers can help reduce this effect but, aesthetically, is not desired.
Clearview Shields Vent Options
Allowing air into the riding pocket can not only smooth out the airflow around a rider, but it can substantially reduce the low rumble caused by the air abruptly trying to fill in behind the screen. We offer 3 different types of windshield Venting options that can be used on many different models. Please check with us if your desired Vent option is not listed for your motorcycle.
Adjustable Vent
The most popular vent Clearview Shields offers is the 5-position adjustable vent. This can be placed low enough on the screen to be comfortably out of your field of vision while being high enough to affect the airflow around your head and upper body. The vent can be closed when conditions become adverse or too cold and, depending on headwinds, side winds can be aimed at different levels to fine-tune the riding pocket for maximum comfort. When in the closed position, it will redirect air up the back side of the screen, helping to balance the pressure directly behind the back side.
PRV(Pressure Relief Vents)
PRVs are aerodynamically designed holes placed strategically on the screen to allow airflow inside the pocket. First found on the stock 1994 and newer Honda ST1100, they have been used by Clearview Shields successfully on many different models to smooth out the riding pocket.
Headlight Vent
Clearview Shields normally creates their Cruiser replacements to match the appearance of the rider’s stock replacement with a tight cut around the light but increasing that gap around the opening can help to decrease the updraft that creates turbulent air from below (fig 1). This option can be created upon request. Please contact customer service for model application.
Any Vent option to be considered will help with the comfort of your ride, keeping you on the motorcycle longer.



Light Grey
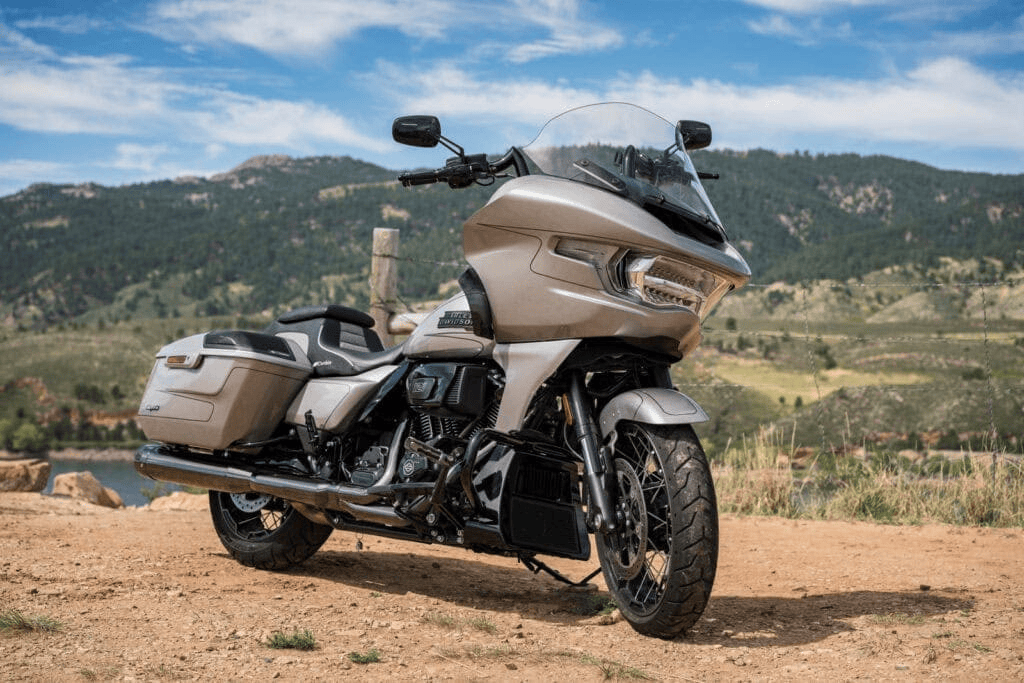
Light Gray allows 86% of light to transmit through the screen, only blocking your view of the road by 14%. It works well to reduce glare from bright daytime rides as well as from oncoming lights during night rides, without compromising a safe ClearView of the road ahead.

Bronze
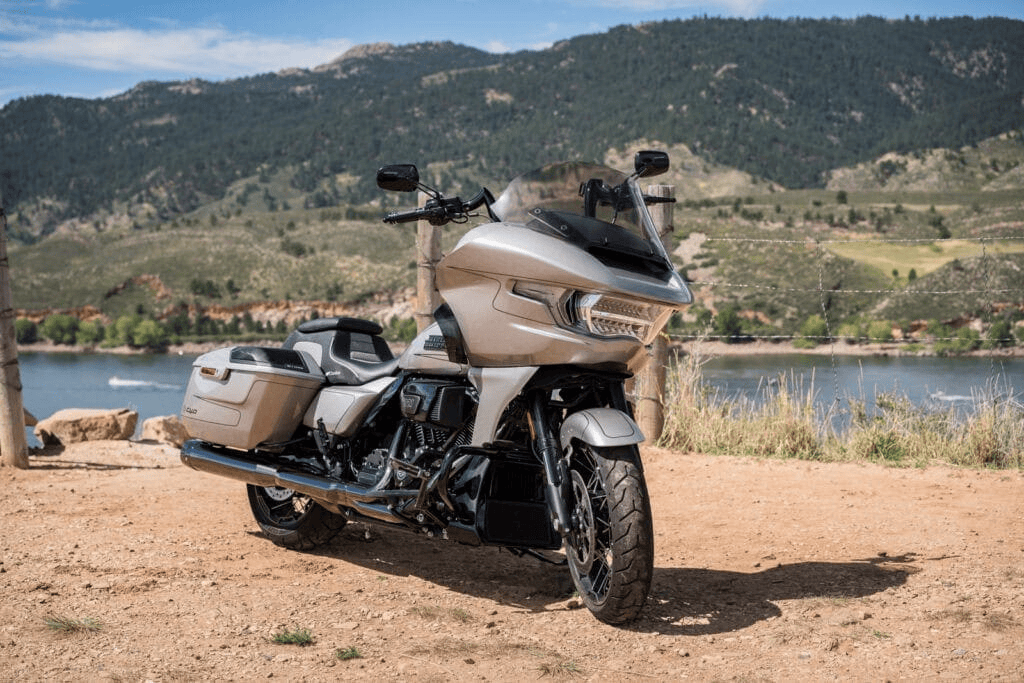
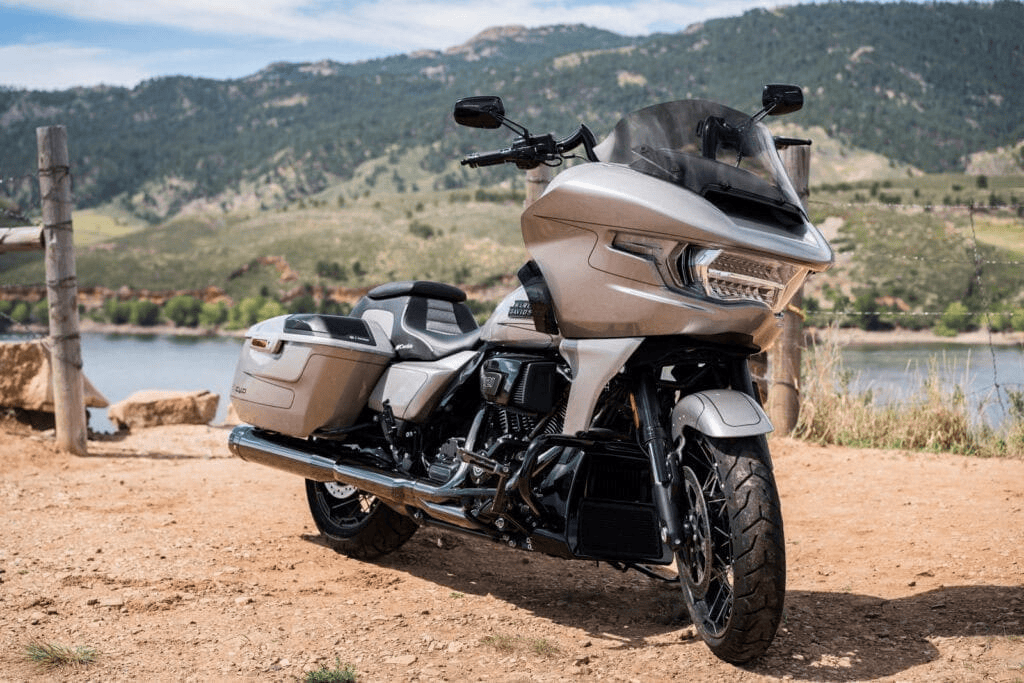
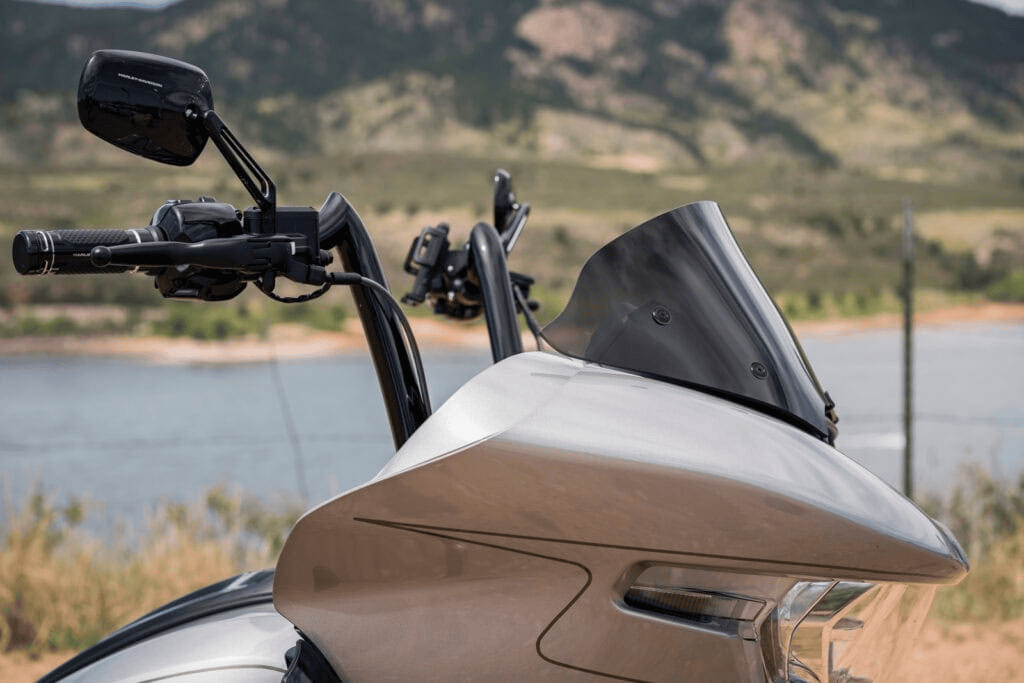
Bronze has a brownish hue and allows 80% of light to transmit through the shield, only blocking your view of the road by 20%. It works well at reducing glare from bright daytime rides and oncoming lights during night rides without compromising a safe ClearView of the road ahead when looking through it.
Dark Grey
Dark Gray allows 35% of the light to transmit through the shield, blocking 65% of your view of the road. It is only offered as a standard replacement for many smaller options because of the difficulty looking through it at night. Custom requests are available for taller sizes.
Video walk around for motorcycle windscreen tint options.
PLEASE NOTE: Not all tint options are available for all models. Please shop individual bike pages for motorcycle windshield tint availability.
How to Clean a Motorcycle Windshield
Clearview Shields are made with a Premium High Impact Strength Material Exceeding Industry and DOT Standards. They are Easy to Maintain, Pre-Cleaned with Novus #1, and Ready for Pre-Treatment.
Presoak
Always presoak the shield with a large towel or soft cotton cloth. The towel must be soaked with water and laid on the shield for at least 5 minutes to soften things up. Remove the towel and squeeze out the water over the shield as you lightly move the debris down and off with your hand. Keep the pressure light to avoid scratching the surface. It is best to keep this towel for presoaking only. It should not be used at any other stage of windshield maintenance due to dirt and debris contamination. Wash the soaking towel regularly.
Final Clean and Treatment
Once the screen is free of all bug guts and dirt, it is time to do your final clean & treatment. This final treatment typically begins with a light wax or film coating on a clean screen to disperse water and make removing bugs, dirt, and debris easier during future cleanings. We recommend Novus #1 Polish available through Clearview Shields, Rain-X Original for Plastic Treatment (clear appearance), Honda Line Spray Cleaner or even Pledge Furniture Polish. Any pre-treatment must be applied in moderation to avoid excess buildup.
Scratch Removal
Light abrasions can be removed with Novus #2 scratch remover polish followed with Novus #1 for the final cleaning.
Deeper scratches may need Novus #3 applied first, followed by Novus #1 to clean the residue off the shield. Then use Novus #2, followed by Novus #1, for the final cleaning. These polishes will work well when used on a rag, but even better with the heat generated by the friction of your fingers or hands (remember to remove any jewelry to avoid scratching the screen). Also remember that most of these creams will absorb into the skin. Revert to the rag method if any irritation occurs.
It is very important that the residue from the prior polishing step be removed before the next level of polishing. The Novus #1 polish works well at removing debris from each polishing step thanks to its anti-static formula. Use Novus #1 for this purpose when using both the basic and power polishing methods.
Scratches that can be felt with a fingernail may require a power buffer along with Novus #3, followed by the hand scratch removal method above. The key when using high-speed equipment on plastic surfaces is to watch the heat and keep the tool moving in a slightly larger area than the scratch. Too much heat focused on a small area can cause the plastic to distort, and that distortion is irreversible. Always keep the polishing compounds light. This may seem obvious, but if one feels the damage is too severe and wishes to save time, they may cause irreversible damage.